


Wij gebruiken cookies om uw ervaring beter te maken. Om te voldoen aan de cookie wetgeving, vragen we uw toestemming om de cookies te plaatsen. Meer informatie.
 PDAplus Nederland

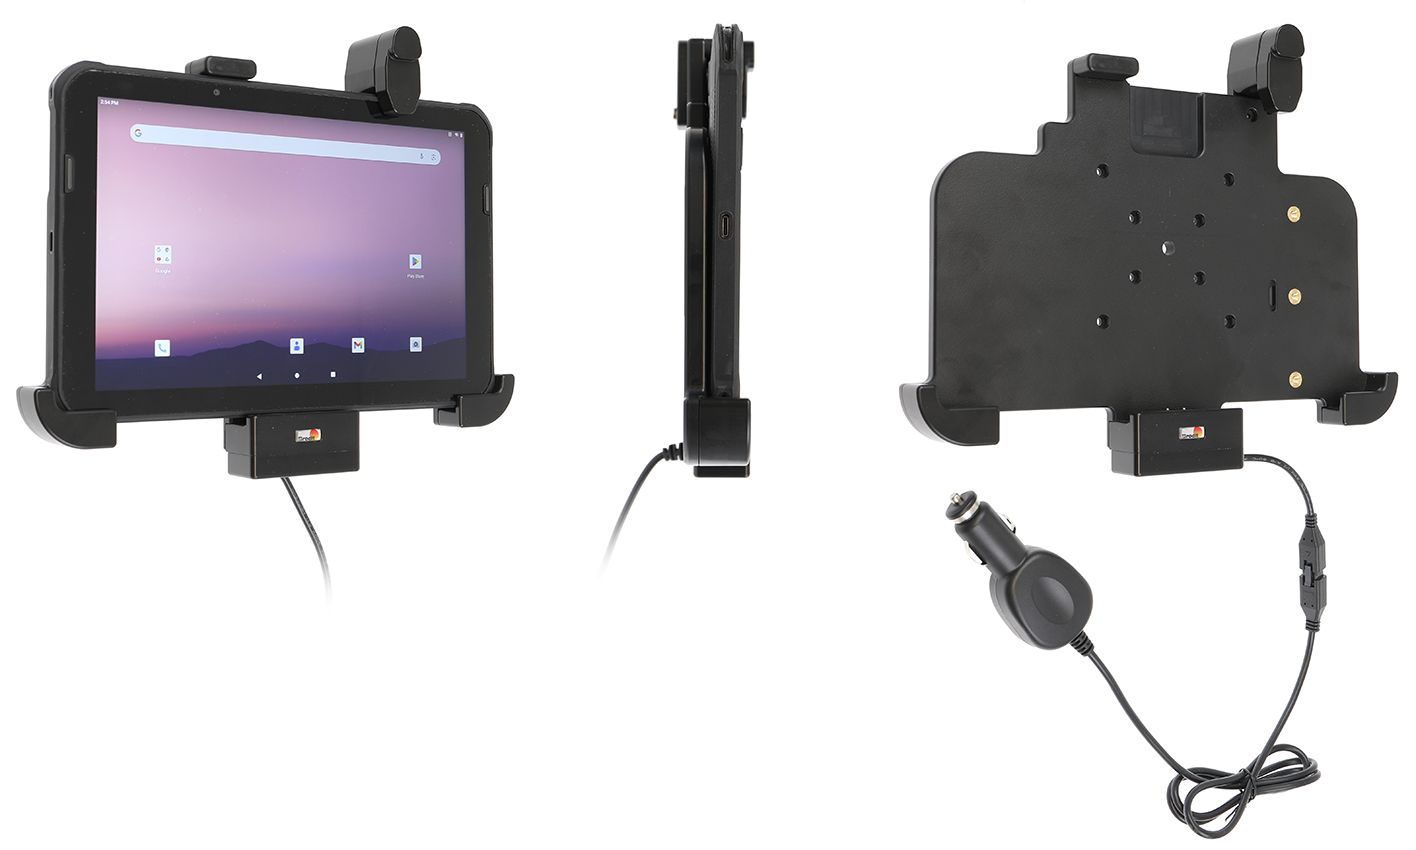
Use an active holder for your EDA10A and you will always have a freshly charged battery! The holder provides a neat and comfortable installation - safe and convenient. The holder is equipped with a cig-plug for connection to the vehicle's 12/24 Volt socket. 3A charging. Charging via pogo plug.
This holder is to be used when you want to have your EDA10A extra securely in place and still have it easy accessable.
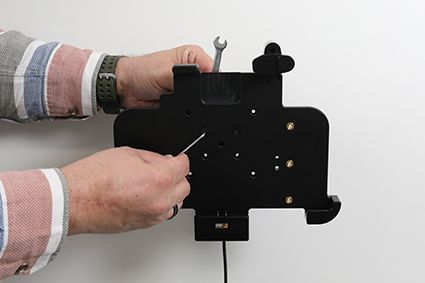
The holder is equipped with a tilt swivel so you can easily adjust the angle for better viewing. Tilts 17° and swivels 360°. Mounting plate 42x50 mm with 4 mm AMPS-holes. Made of high grade black ABS/Acetal plastic. Made in Sweden.
| Accessoiremerk | Brodit |
|---|---|
| Barcode | 7320287124002 |
| Adviesverkoopprijs incl. BTW | 184,95 |
| met case/skin/boot/frame ? | nee |
| Houder kenmerk | Toestelspecifiek |
| Kabel / Qi / lader type / connnector | Molex, sig plug, piggy tail (Easy Switching) |
| Toestel connector | Pogo / Pins |
| Input Voltage | 12/24V geschikt |
| Voltage (output) | 5V |
| Max Amperage | 3,0 Amp |
| Montage standaard | AMPS, VESA |
| Afsluitbaar | stud veerslot sluiting |
| Kleur | zwart |
| Productinfo | Professionele houder met draaimechaniek voor uw smartphone, navigatiesysteem of tablet. Hinderlijke reflectie behoort tot het verleden door het aanpassen van de invalshoek |


